Model Railroading
Published December 28, 2025
This year I decided to try out model railroading as a hobby. I figure I’m old
enough at this point, and it’s a great intersection of my other hobbies (small
scale custom electronics, benchtop metal working, and 3D printing). What pushed
me over the edge was our old, boring, unreliable toy train that ran in a circle
under the Christmas tree. It never ran well, often got stuck on branches or
ornaments, and constantly got in the way of gifts. This felt like a great
excuse to go overboard in “solving” a problem.
Getting started, I knew I wanted some kind of kit, so that I didn’t have to
figure out every decision in advance. I figured I could start there and expand.
I also knew that computer control was a non-negotiable for me. If this hobby
didn’t lead to writing code, what good was it?
At some point in the process of getting into model railroading you need to
consider which scale you want to work in. There are lots of pros/cons, but in
the end I decided on HO (Half O) scale. It hit the sweet spot for me, balancing
price, availability, space constraints, and so on.
I also knew that I’d want to really be able to hack on this, if it was going to be fun for me. Some research led me to DCC, and I knew I needed a DCC ready set if I was going to enjoy this.
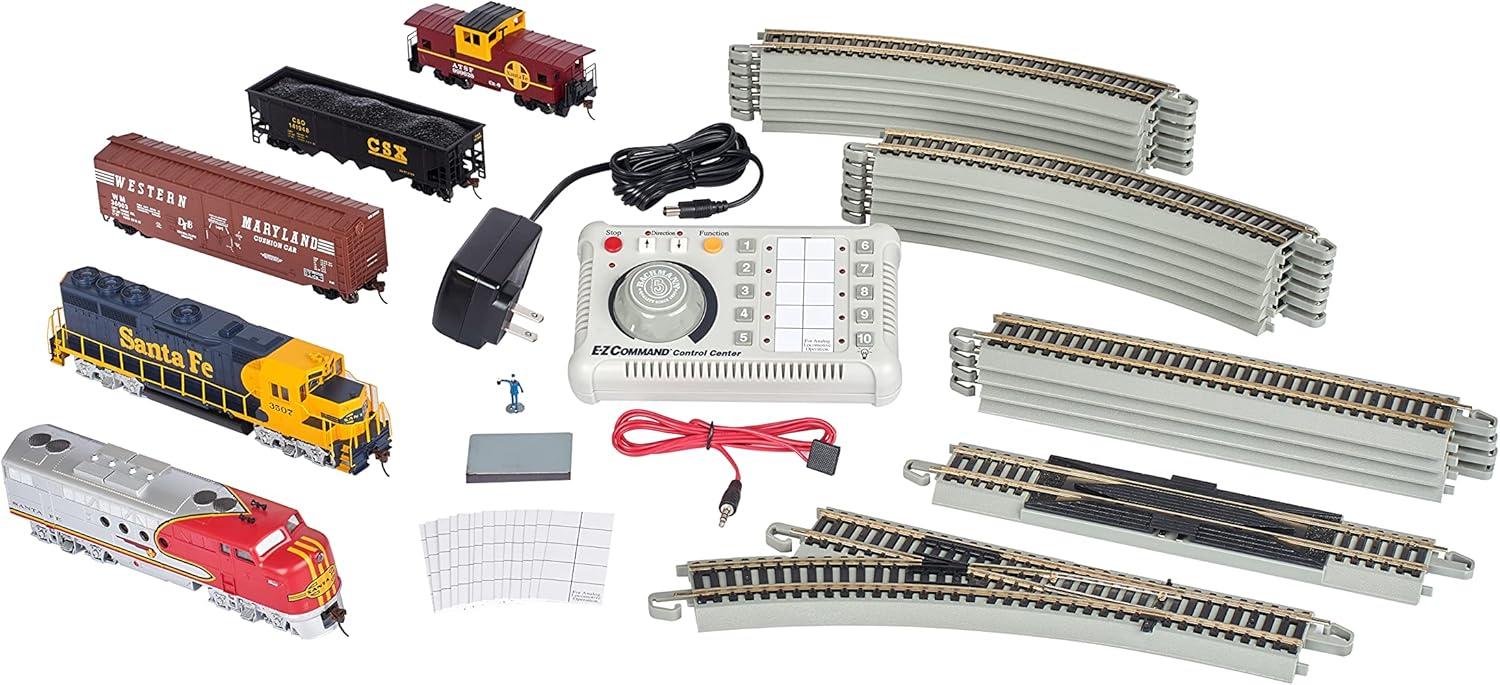
I ended up with a Bachmann Trains Digital Commander kit.
(Note: at the time of writing the price is 25% more than I paid just a few weeks
ago. I’m not sure if I got lucky or it something else is going on.) This kit
was exactly what I was looking for. It came with enough track to make a layout
the size I wanted. All the track is Backmann’s EZ-Track style, in which the
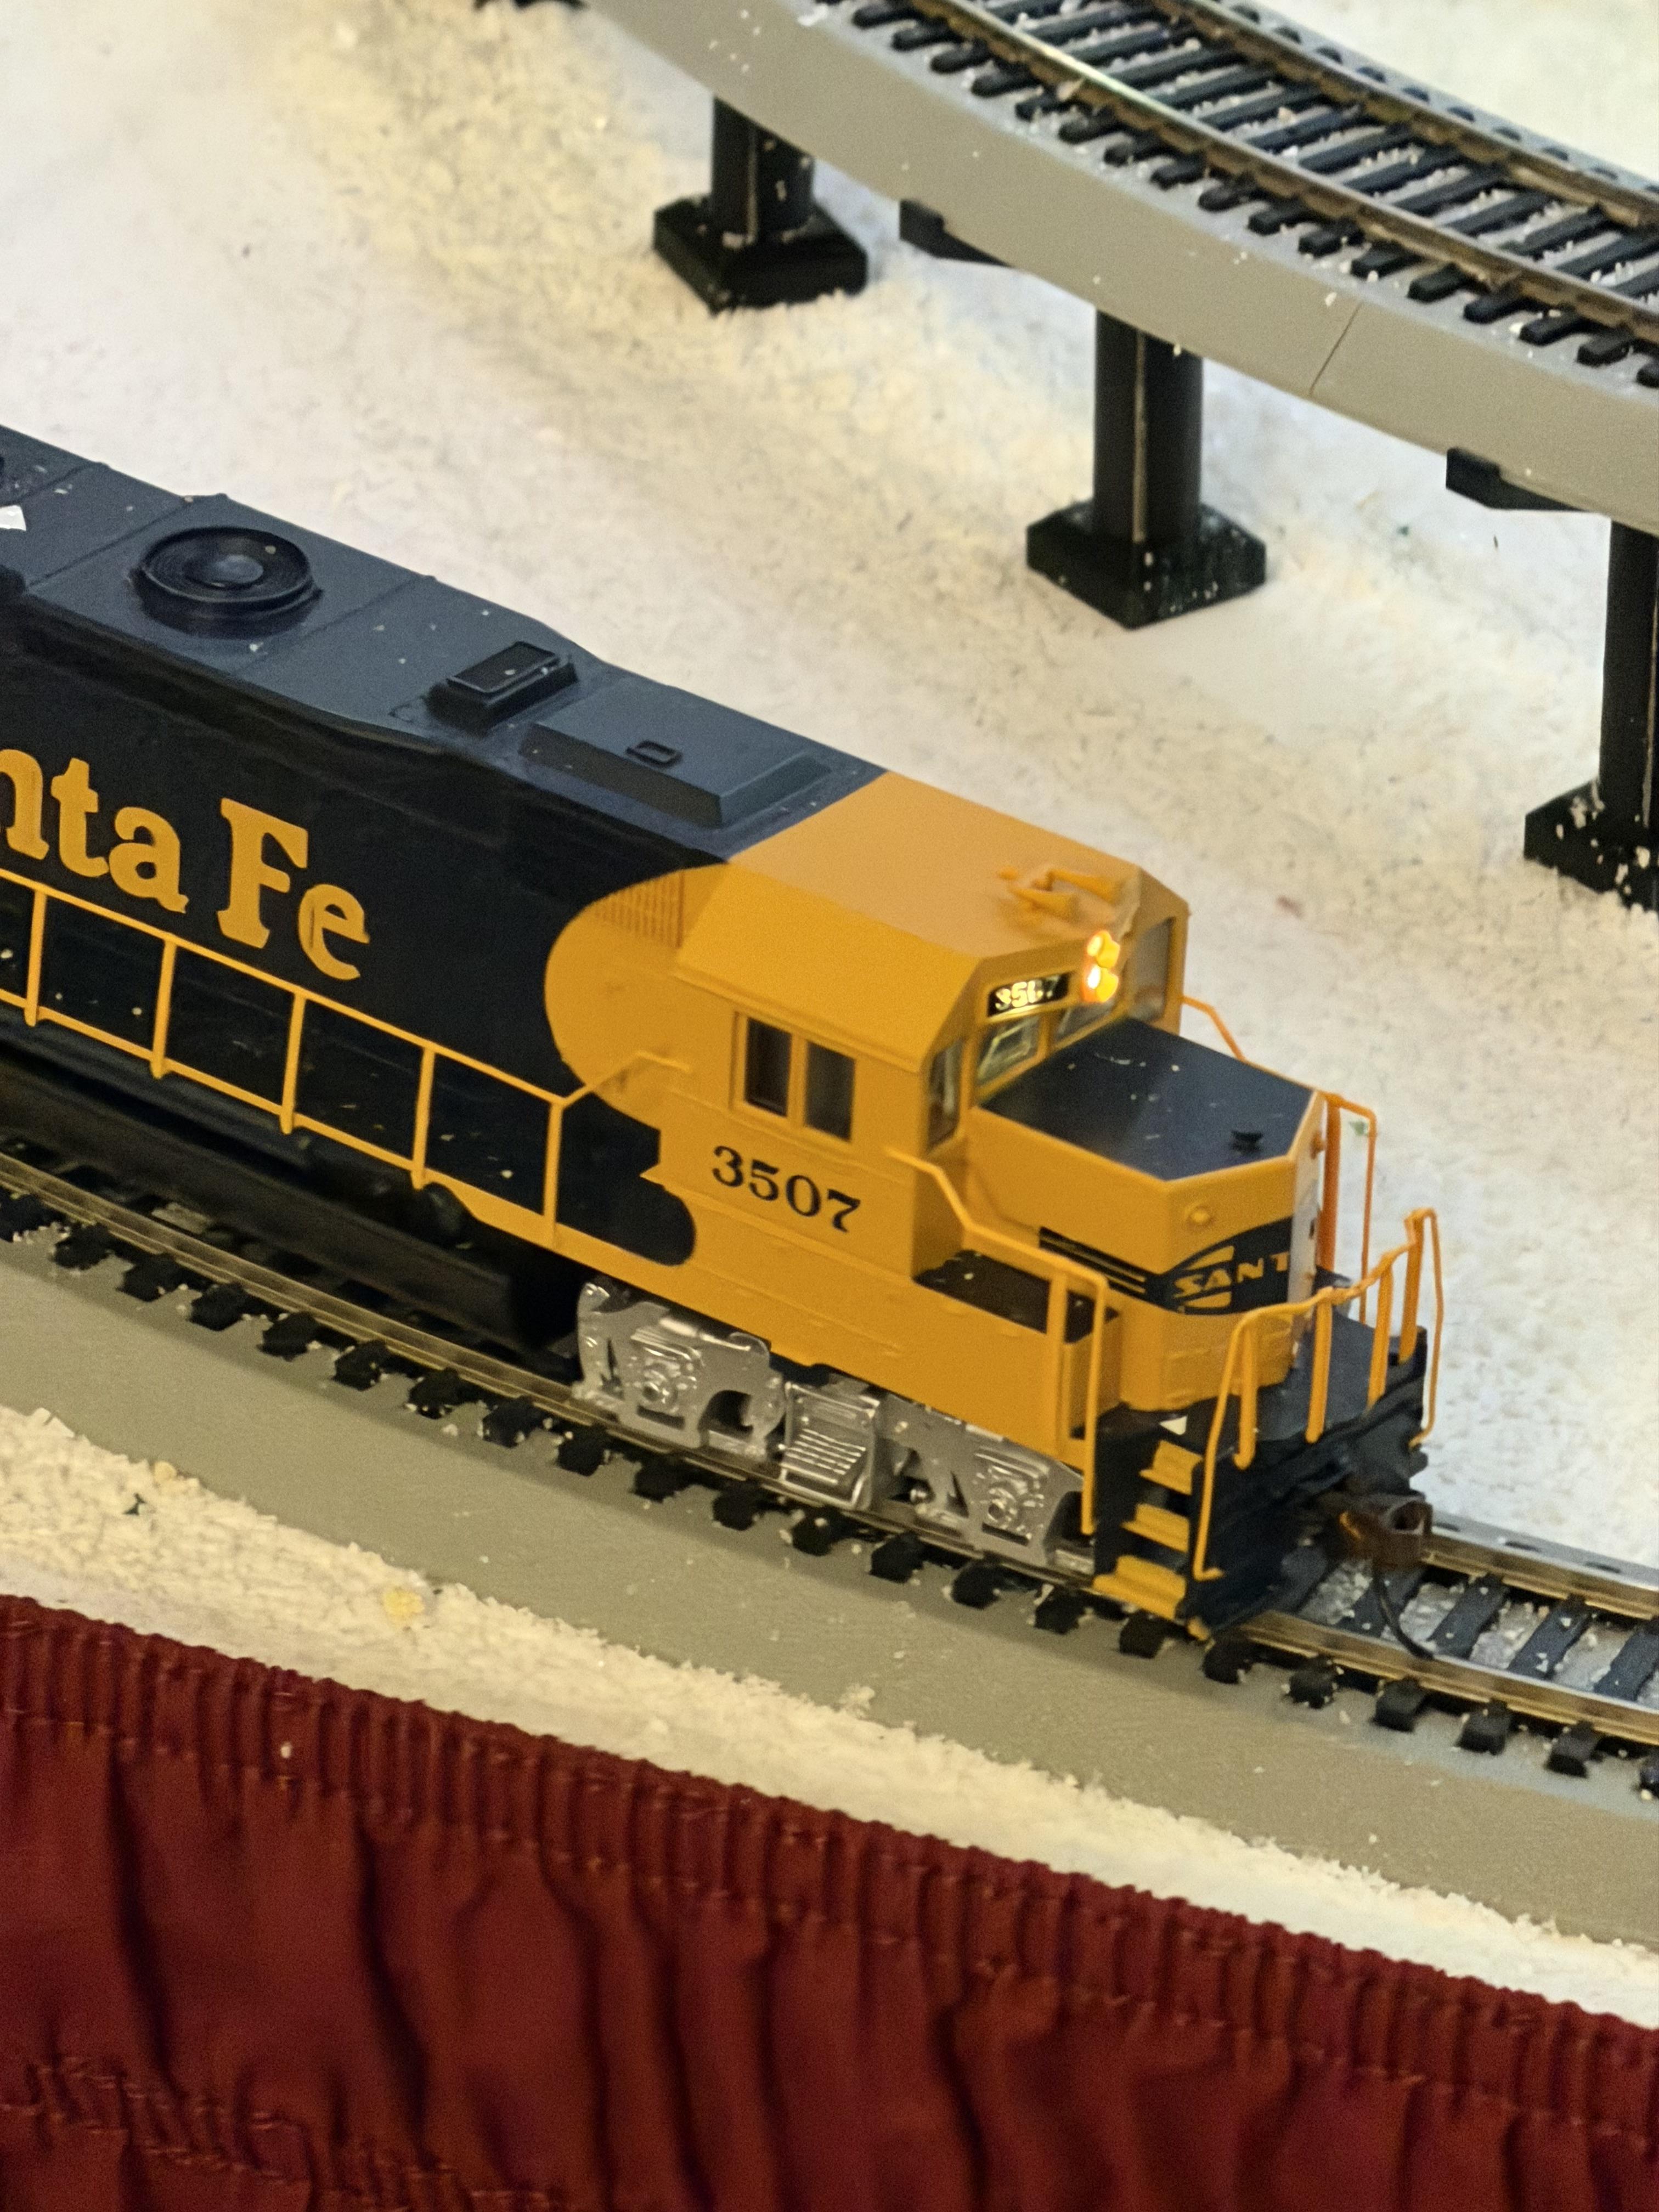
ends of each piece slot/click together. And the locomotives and cars it comes
with are attractive and well built.

It also comes with an “E-Z Command Digital Control System,” which is a hardware
control panel that lets you program and control your Cabs on the layout. The
setup is not particularly intuitive, but the instructions were well written and
I was able to setup my train quickly and easily.
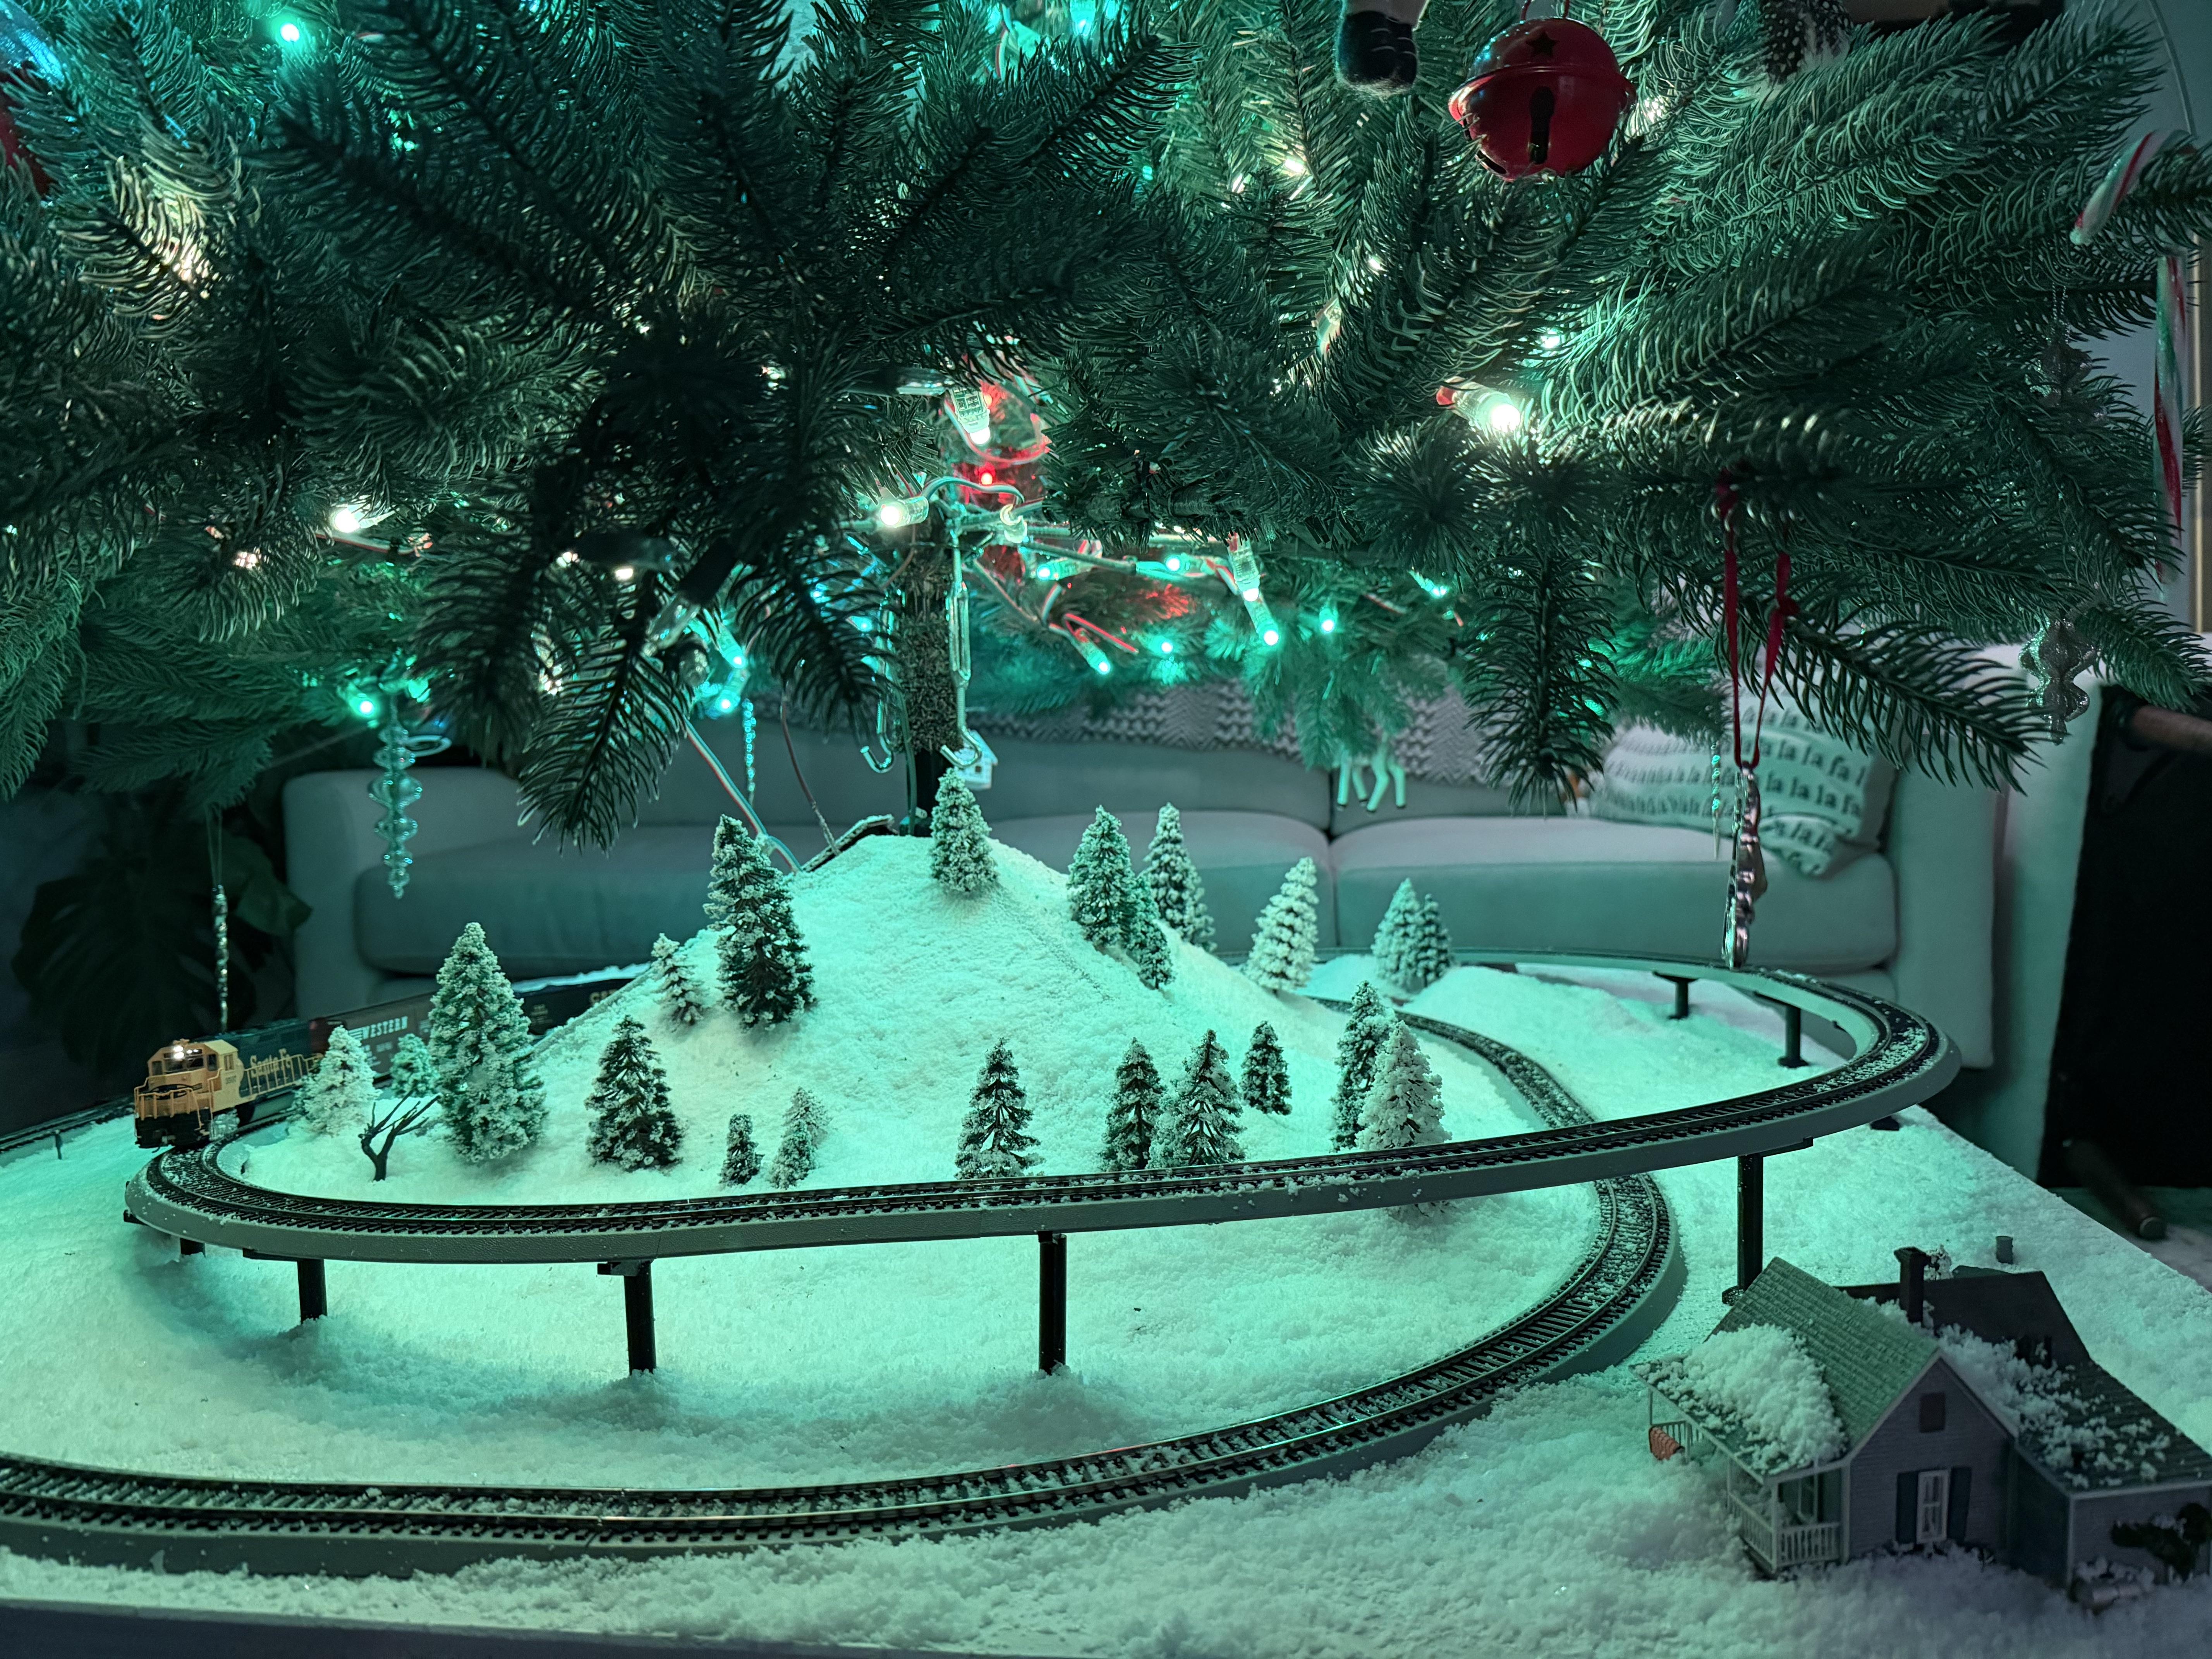
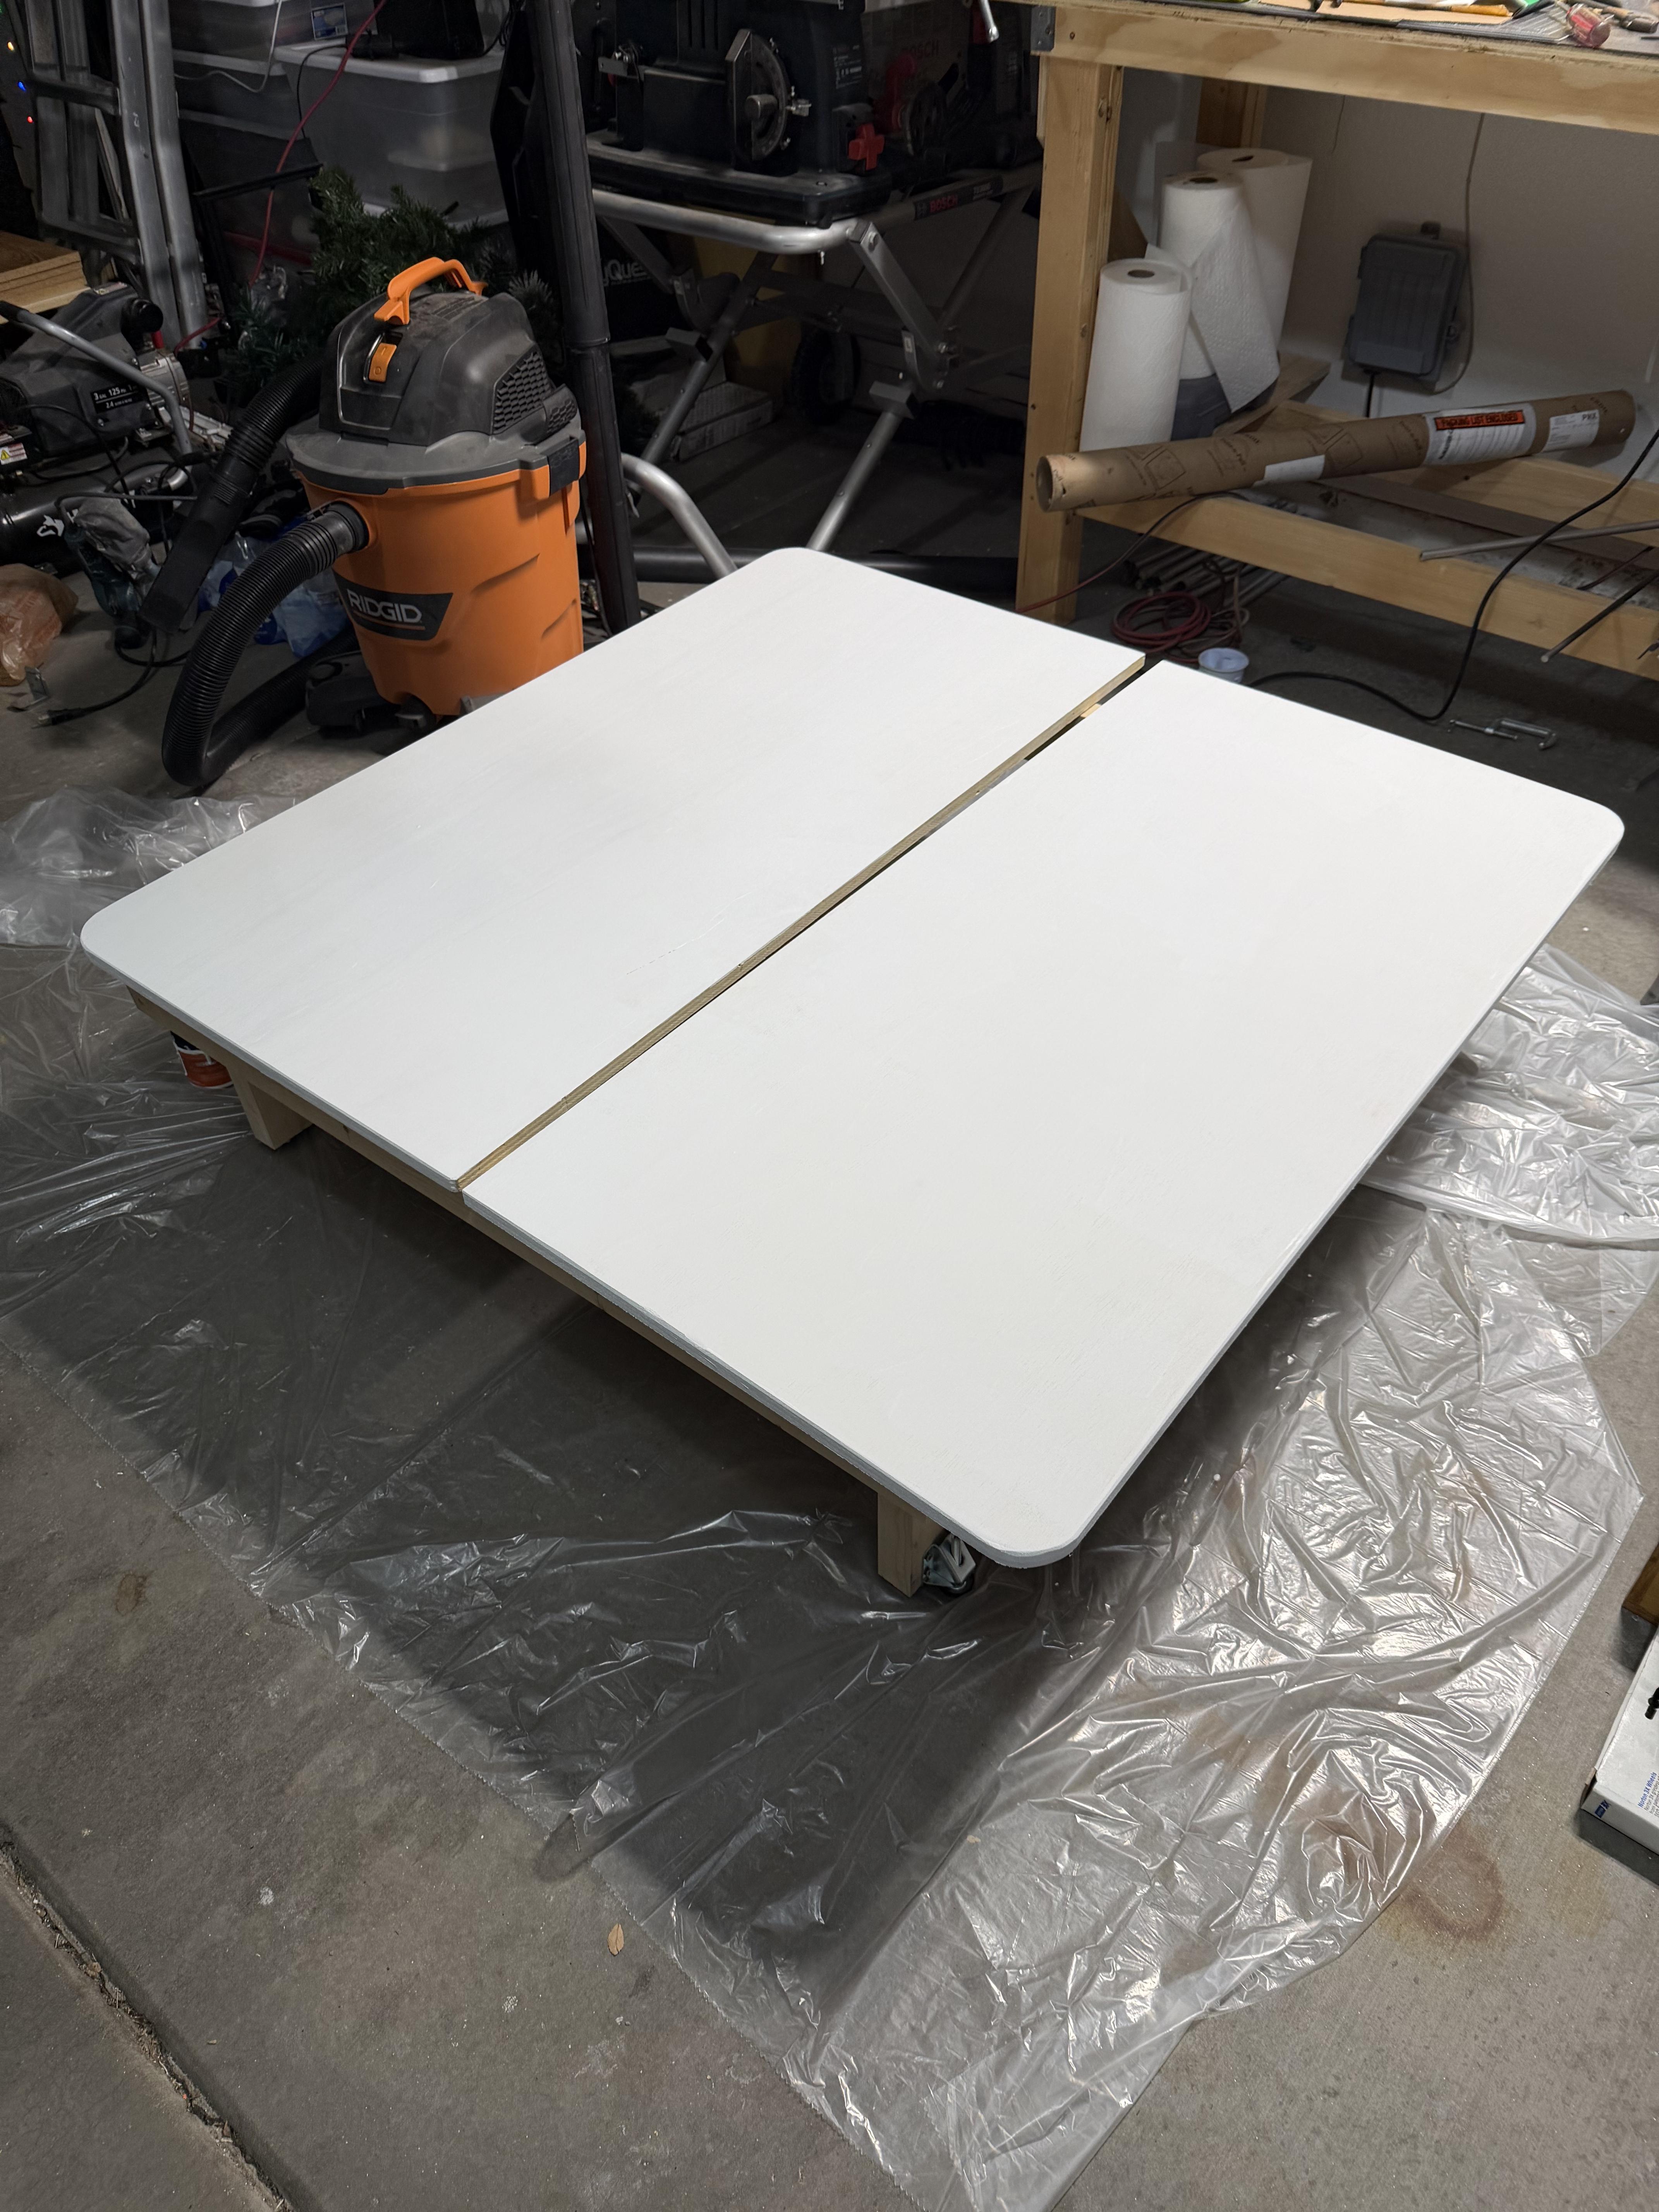
While I was waiting for the train kit to arrive, I went to the hardware store
and purchased some lumber and built a basic platform for the layout to sit on.
My plan was to place our Christmas tree in the center, and have the train drive
around the top, around the tree. In the end I’m very happy with how the table
came out. The size ended up perfect for our space, with enough height
underneath for storing gifts.
As soon as I played with the hardware control panel I knew I needed a digital
controller I could code against. There was just no way I was going to be
satisfied with having to manually play with the controls every time. (Which
might make me an outlier in this hobby. It seems that manual control is
the point for lots of hobbiests.)
I landed on a DCC-EX controller, because it seemed to strike the balance I was
looking for in capability/complexity. I could have tried to build my own,
but I wanted to get running quickly, and wasn’t going to get much fun out of
building an electronics kit and running code already built. So, I bought a
pre-built kit.
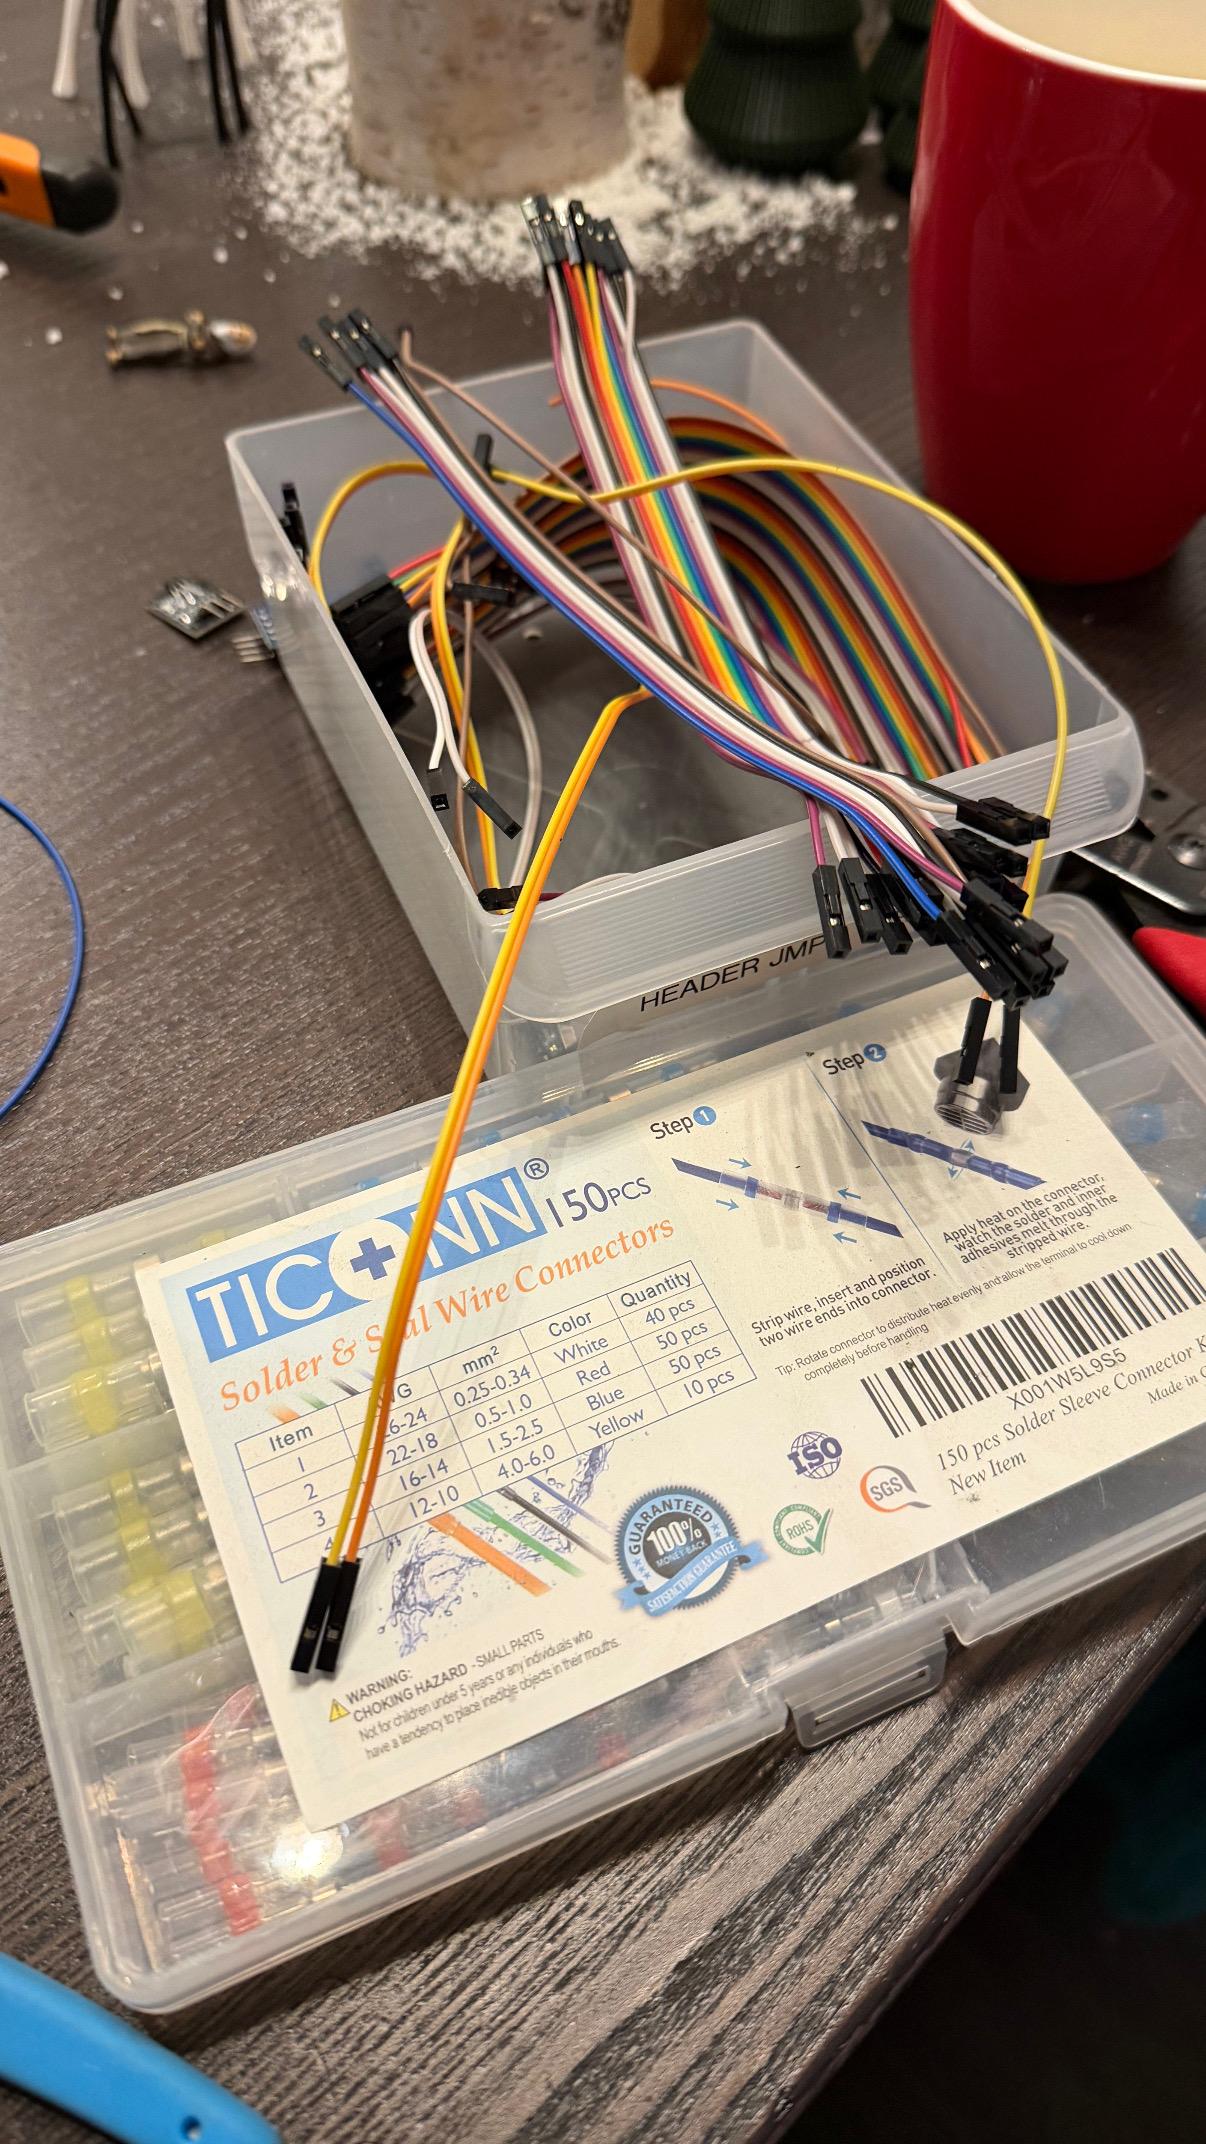
The DCC-EX was easy to get connected. I had to cut/strip the wires from the
Bachmann controller, and then plug it all in. The setup process involves
connecting to a WiFi AP that the DCC-EX broadcasts, then changing some
settings.
After getting the DCC-EX connected to my home wifi, I had to figure out how
to send commands to it. I started with an app from the App Store, just to make
sure everything was working. Sure enough, after connecting to the IP Address
of my controller, I could adjust the throttle and toggle the light on my cab
with no problem.
Figuring out how to send commands from my own code took a bit longer, as the
documentation wasn’t clear about how to connect over WiFi. In the end it was as
easy as opening a TCP connection to the default port and sending text.
(I got really hung up at this point by some stupid MacOS security restrictions
on connecting to devices on a local network. I couldn’t get anything to work in
iTerm. When I finally tried in Terminal.app everything worked flawlessly. After
some amount of debugging I was able to get iTerm working again.)
Step one was to be able to send a few commands to start, stop, speed up, slow
down, etc. That was easy enough, and I put together a super basic set of
scripts to run that for me.
But what I really wanted was a fully automated layout, where the Cab speeds up
and slows down based on which sector it’s in. And for that, we were going to
need sensors.
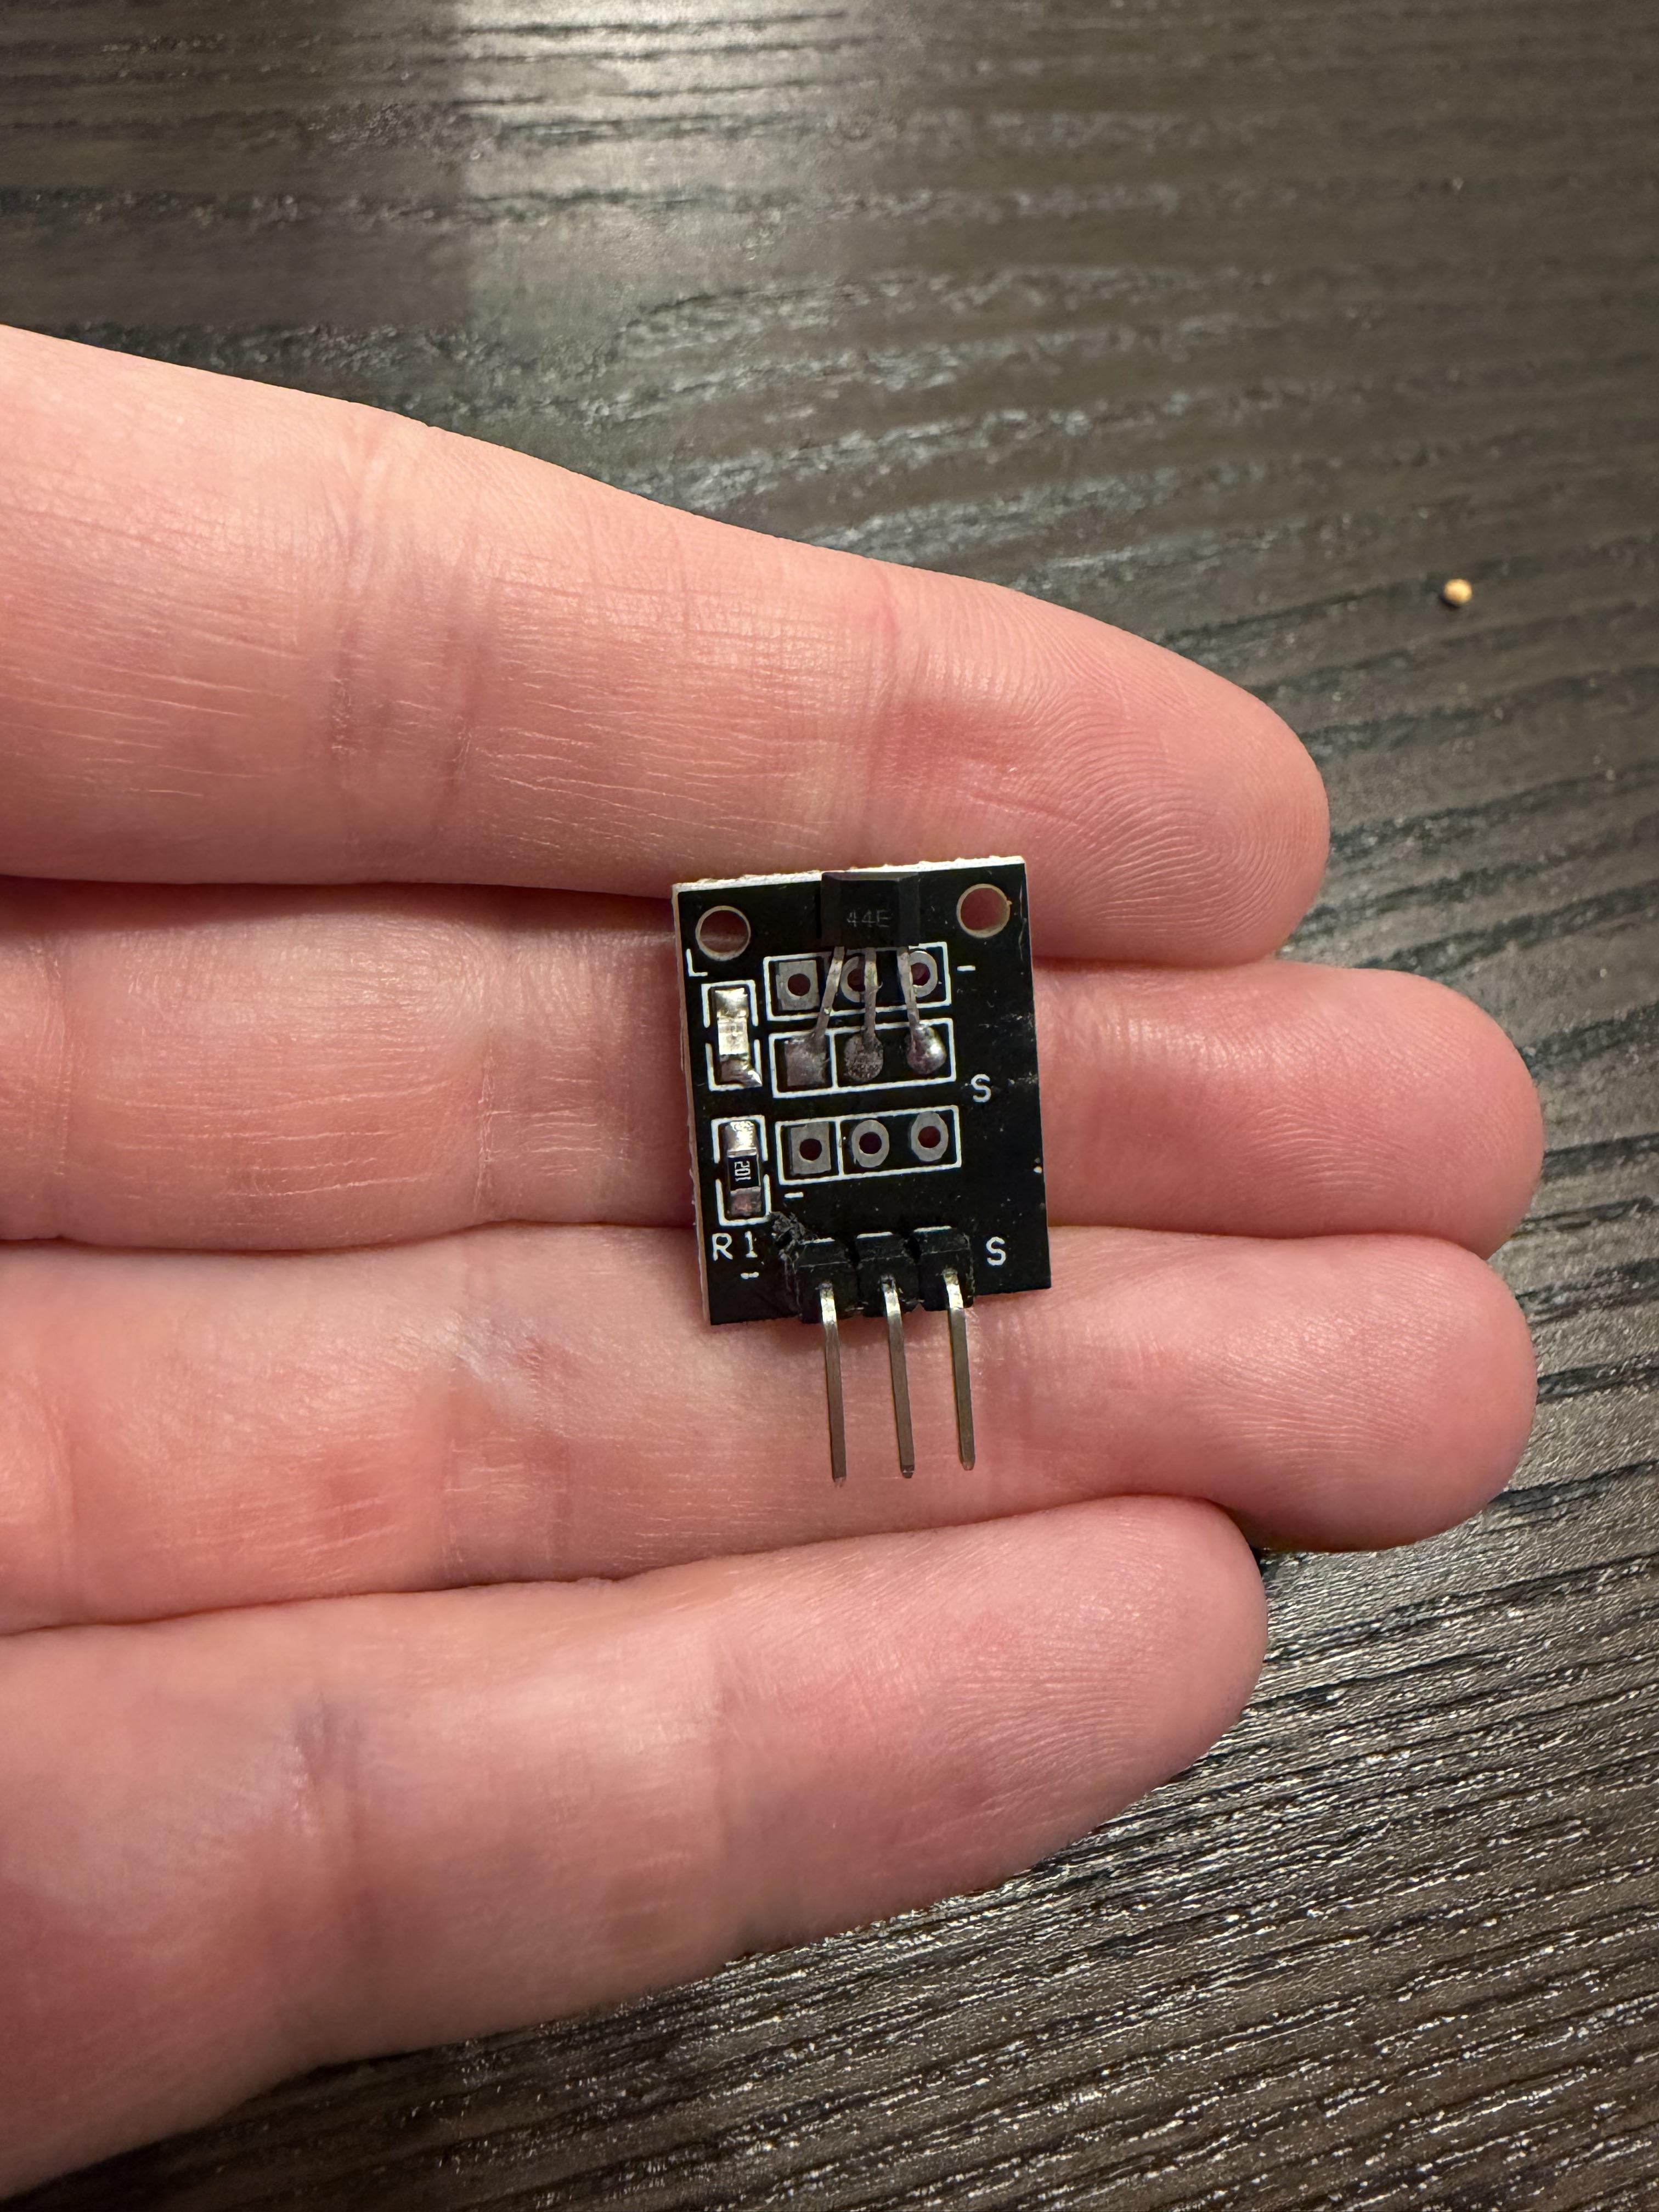
My first attempt at detecting Cab location tried hall effect sensors. These
cool devices are able to detect the presense of a magnetic field. Hooked up to
a basic microcontroller, and you can tell when a magnet is nearby. Put a
magnet under your rolling stock, and you can detect when the train comes by. At
least, that’s the theory.
In practice the effective range of the sensors I bought was just way too
small. I did some research, and while I probably could have figured out a way
to get hall effect sensors working, it was all much less reliable than I
wanted.
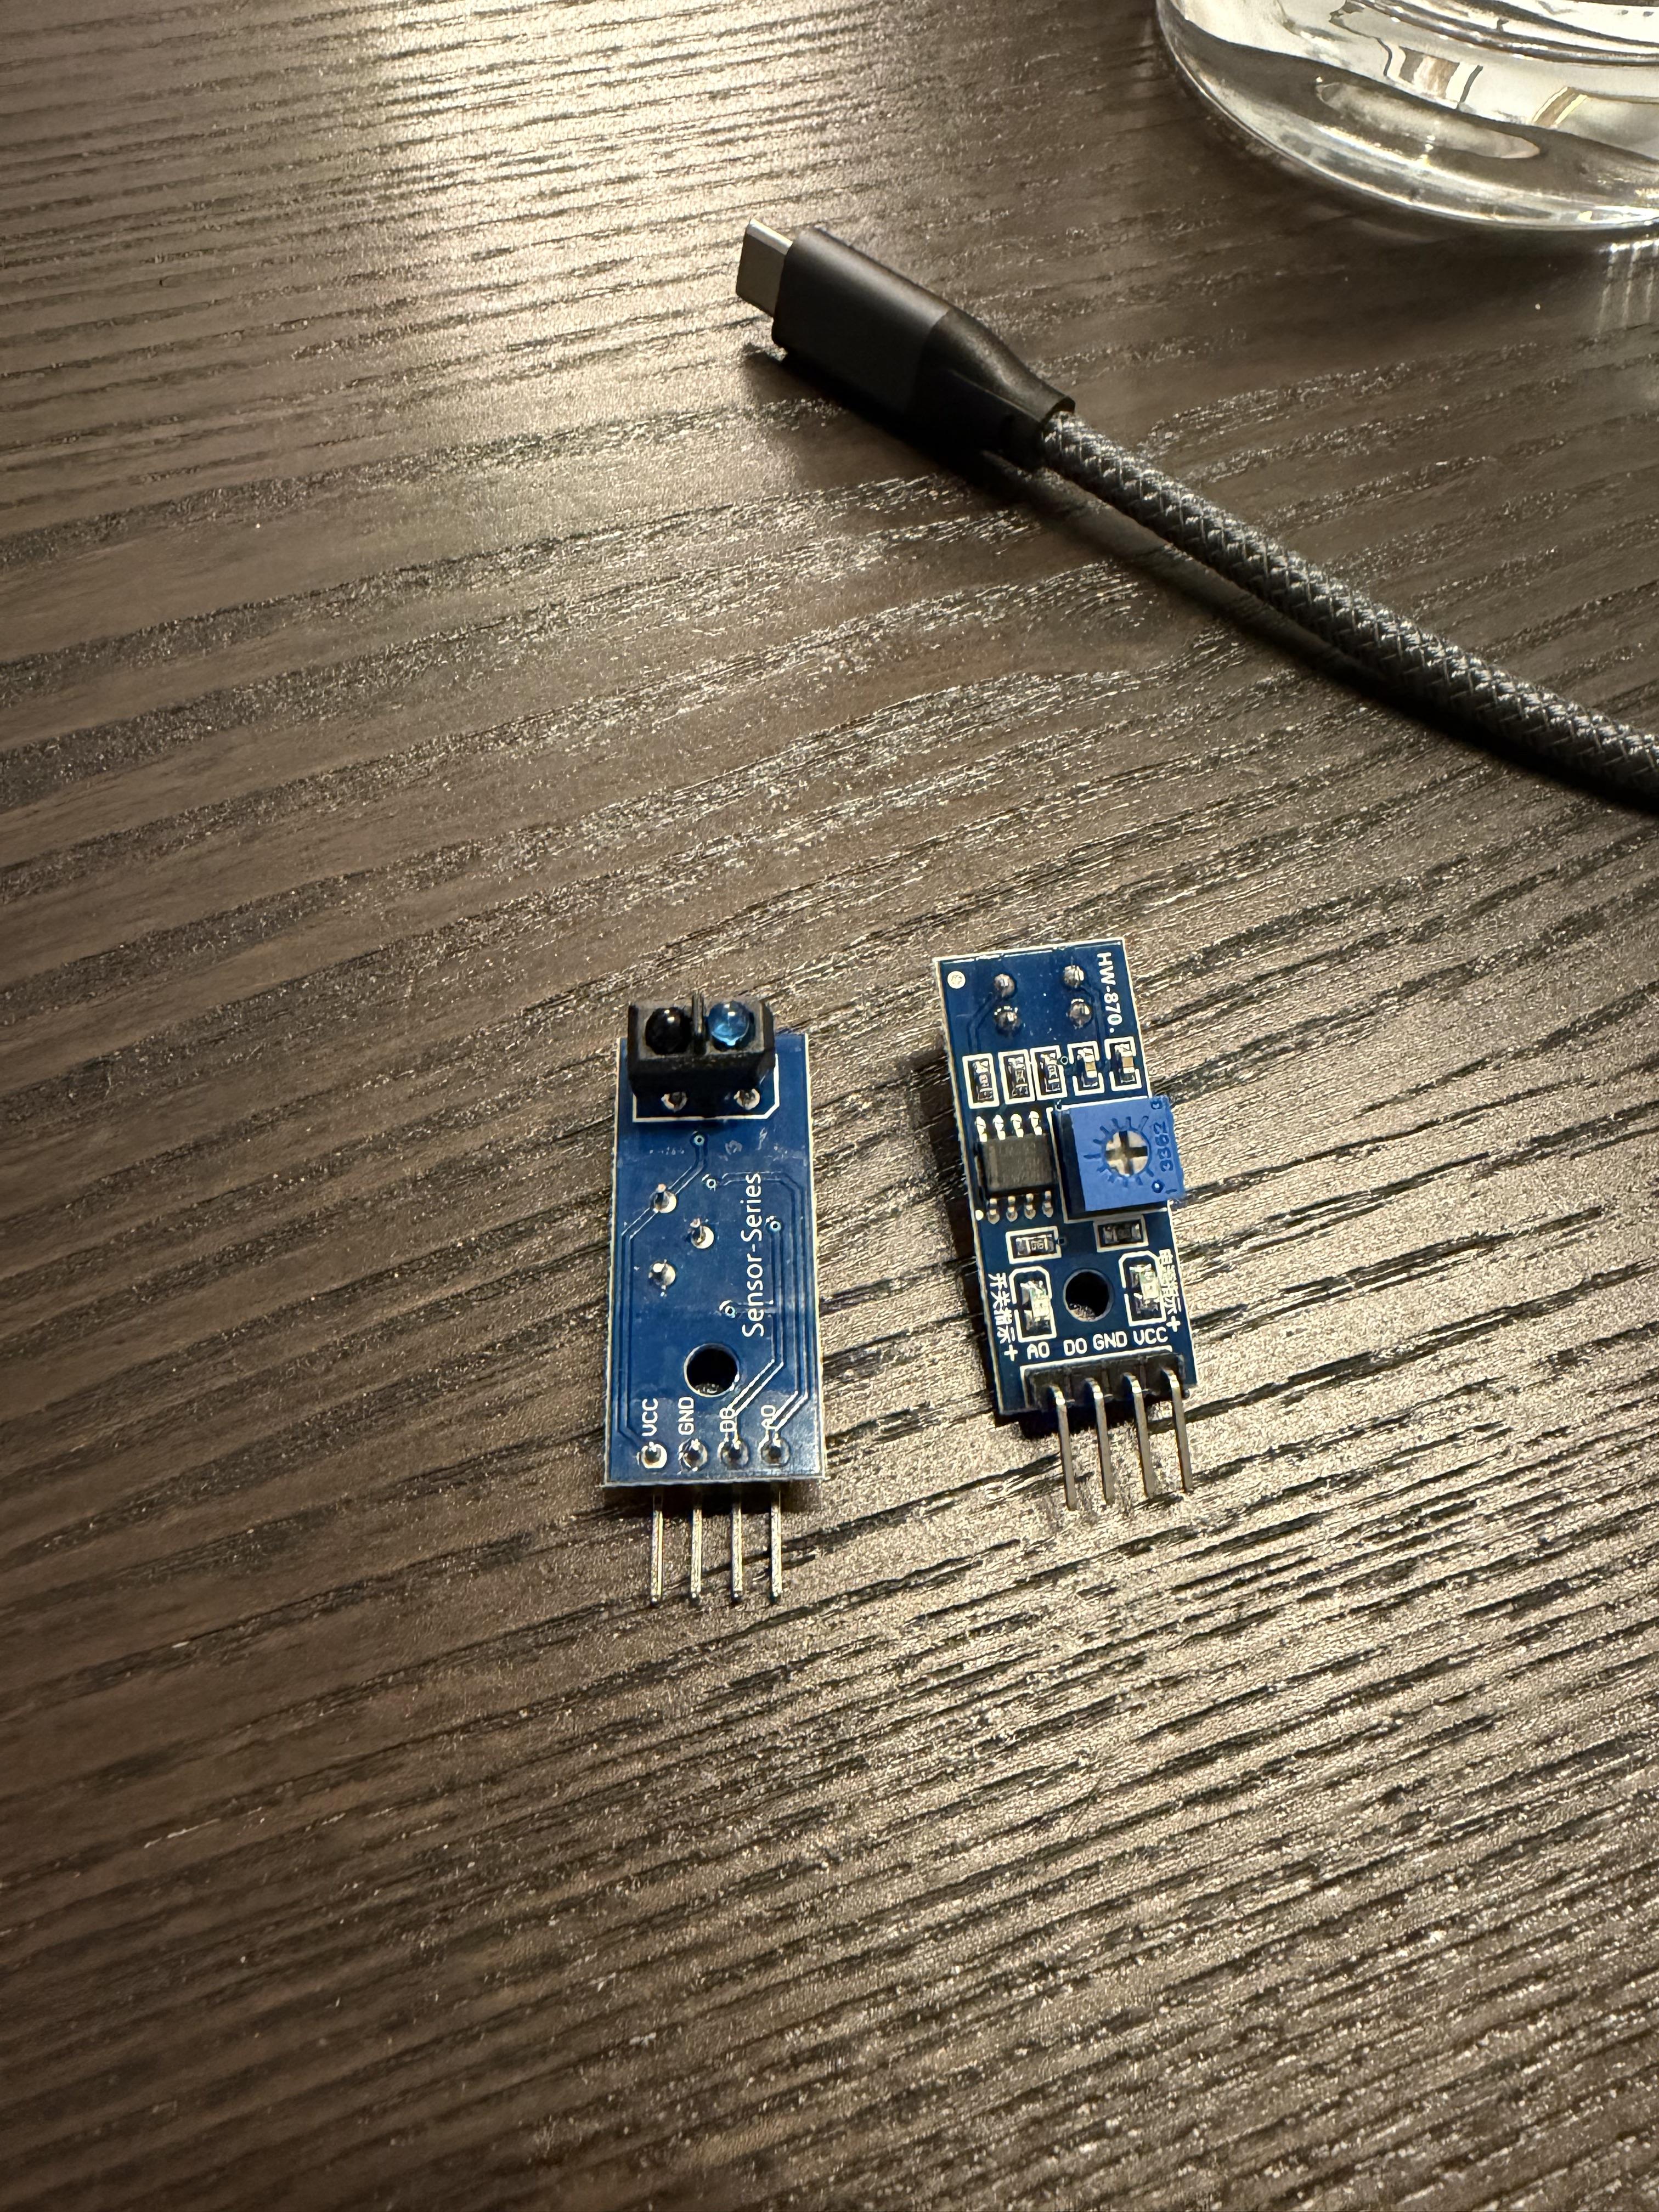

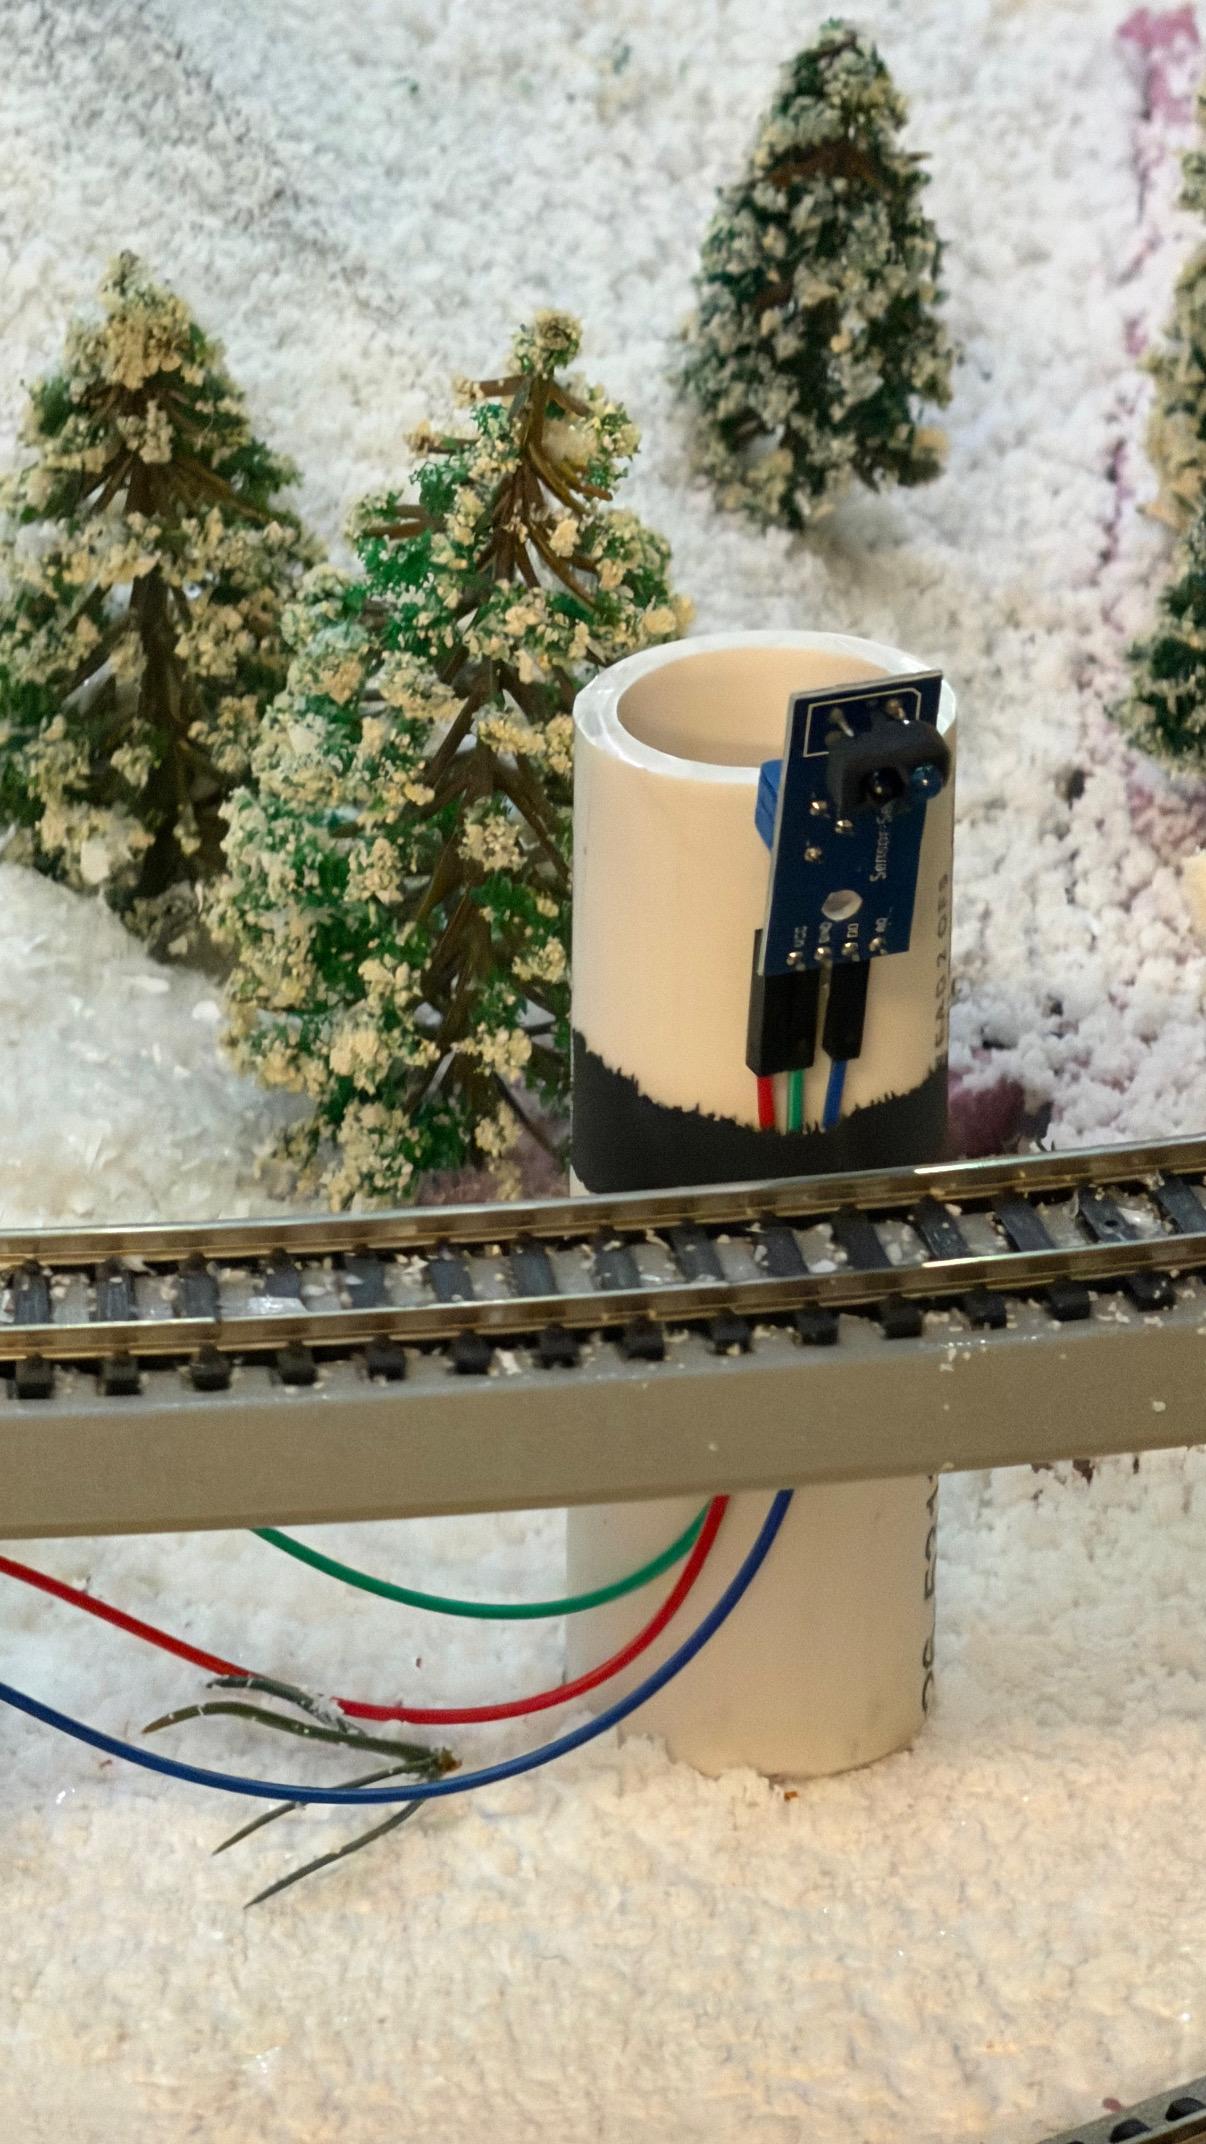
For my second attempt, I went with Infrared Reflection sensors. These little
devices put an IR emitter side-by-side with an IR sensor, divided by a
thin piece of plastic. When an object comes nearby, the reflection is
brighter, and the sensor can “detect” an object being close. The sensors I
got had both a tunable digital output pin, as well as an analog output that
allows you to view the raw voltage coming off the sensor, which lets you tune
it in software.
I hooked up the sensor to an ESP32 (I’m fond of these Feather boards from
Adafruit, but any ESP32 dev board would have worked), and — voilà! — I could
get real-time notifications when my train crossed sector boundaries.
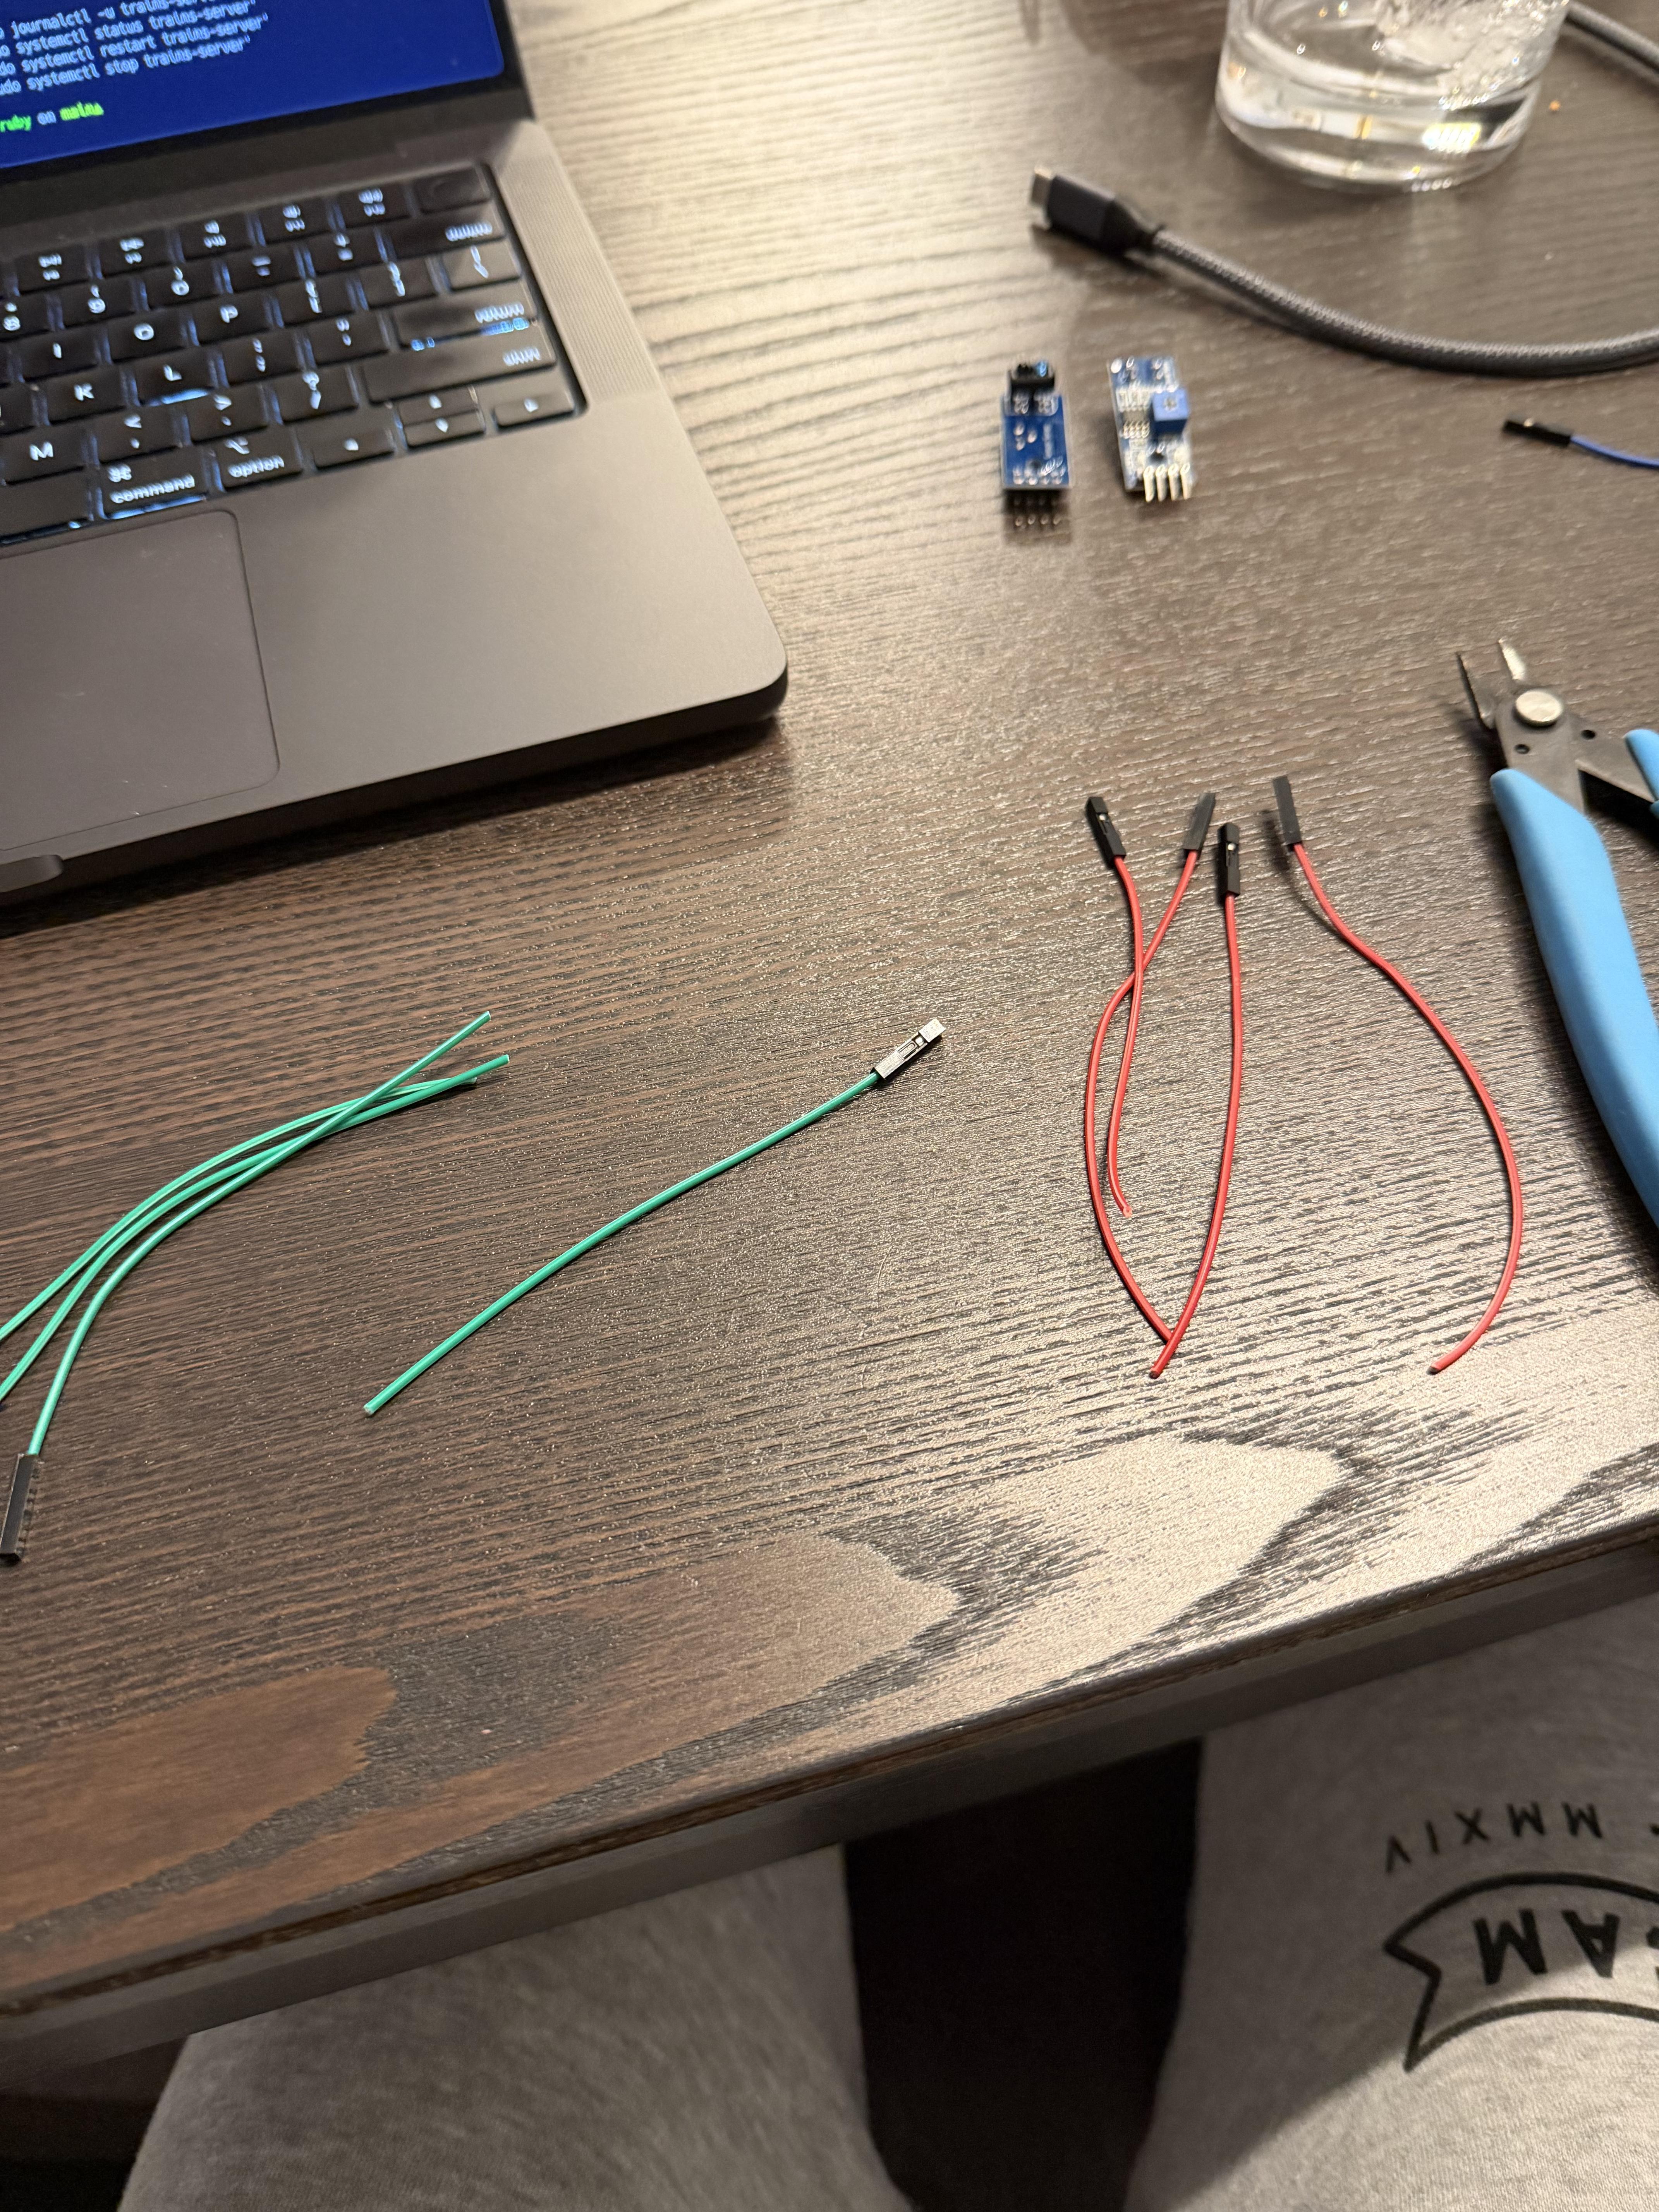
All in all I setup 3 IR sensors wired to a single ESP32 board, which read the
incoming data, computed a rolling average, and posted it once per second to
my primary controller.
Oh, right, the controller! Being the crazy person that I am, I expanded my
server code into a full-on Ruby gem that coordinates the activity on the layout
automatically. It runs a server that can receive info from clients (everything
from data updates from proximity sensors to status requests from the TUI), and
send commands to the DCC-EX controller.
Once everything was in place and communicating properly, I was able to sit back
and watch as the Cab trundles around the bend, picks up power to make it up the
hill, and then dials it back as it comes down the hill.
Now that I’ve managed to dip my toes into this hobby, I have a million ideas
for how to improve this layout. I’d like to completely redo the terrain around
the track layout I came up with. A redo would include better mountains/hills,
a ridge, a tunnel, and better handling of the inclines and declines for the
tracks. Oh, and more and better trees!
After that, perhaps I can acquire a warehouse for some real expansion…